
If you’re a long-distance hiker or an avid outdoors-person, you have probably come into contact with ‘freezer-bag’ cooking. Mostly prevalent in the United States, I have taken this method home with me and use it anytime I am on trail for more than a day. How does it work?
Well…. long story short, you use a quart zip lock freezer bag (because it’s more durable than the non-freezer kind), fill it with dehydrated food and simply pour hot water in when you’re sitting down for dinner. You can check out this post for an in-depth look.
In order for the food to rehydrate properly and still be warm when it’s ready to eat the use of a food cozy has become the go-to method. A food cozy is nothing more than an insulated pouch where your freezer bag of food can snuggle comfortably, trapping in the heat.
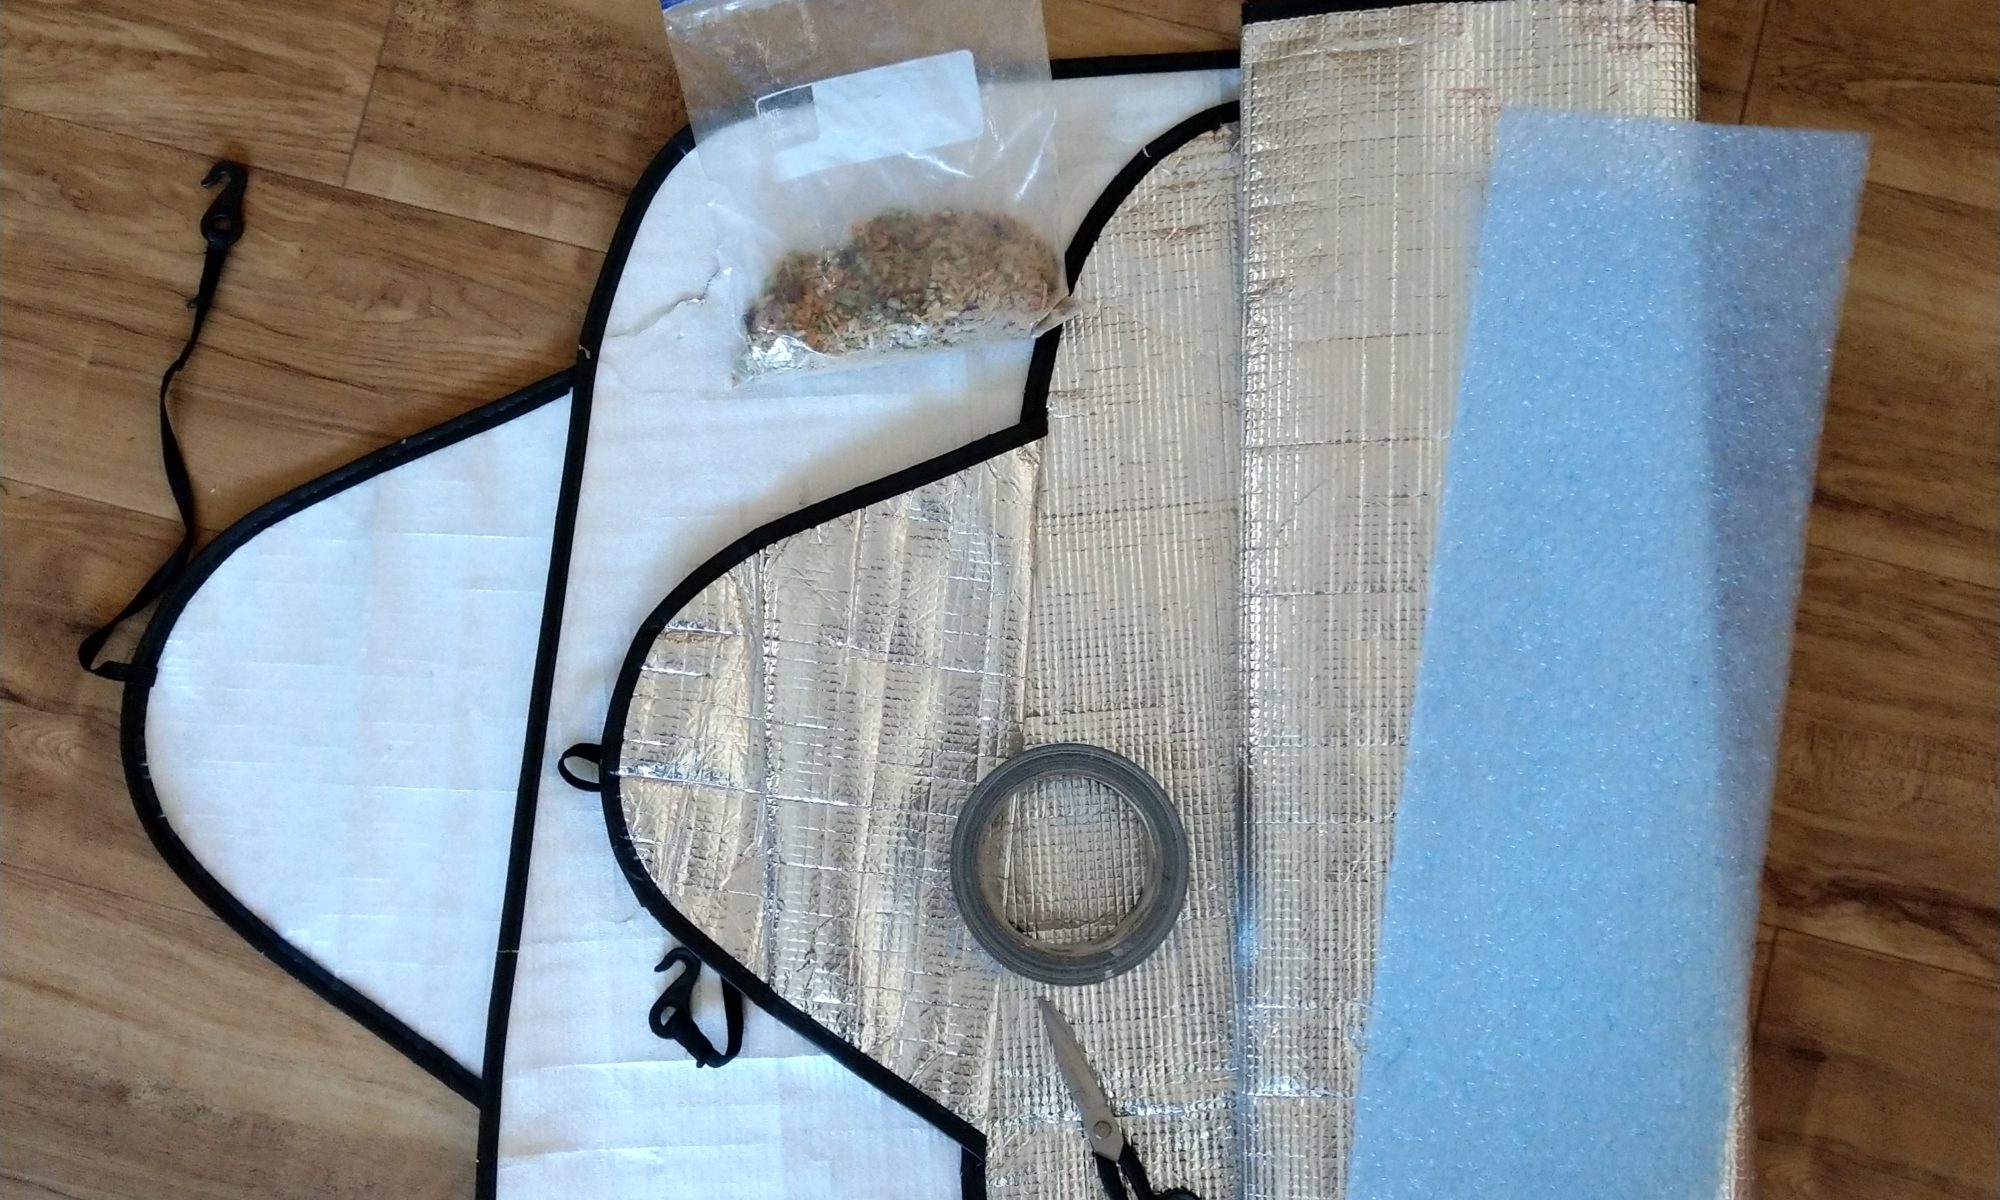
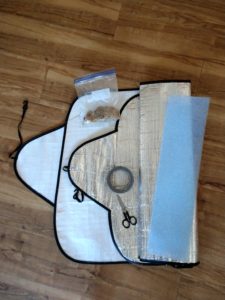
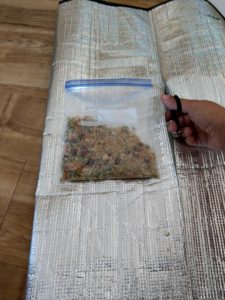
Of course, there are places you can buy a cozy, but I wanted to try and make one myself…..and honestly, it’s not that hard. All you need is some insulating material, for example the reflective foil sheet you put inside your car in the summer and some insulation bubble foil, or likewise. Also, you need a quart freezer bag for measurement, scissors and some duct tape.
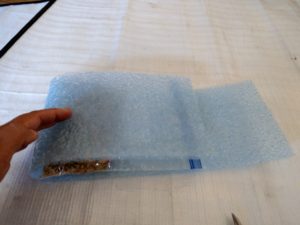
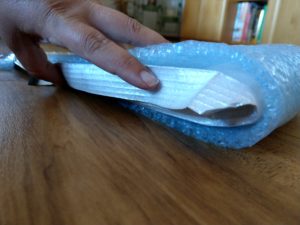
The first thing i did was measure out the amount of bubble foam I need to wrap around the ziplock bag. Anything extra I cut off and used later to fill in the sides, making the cozy a kind of box shape.
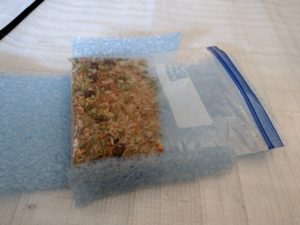
Then I lay the ziplock on the reflective insulation material and cut out around it making sure that when I wrapped the material around the ziplock that both sides are covered and there’s enough left to form a lid.
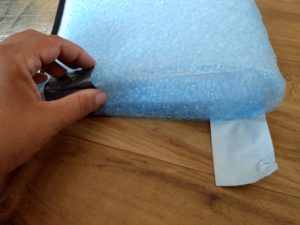
Once you’ve cut every material to size all that is left is to assemble your food pouch and duct tape the hell out of it. So I folded the reflective plastic sheet around the ziplock (silver side on the inseide), then put the bubble foam around it. I made sure to fold in the sides and fill the space with the leftover foam. And then I wrapped duct tape around the whole thing, creating a nicely sealed, waterproof pouch.

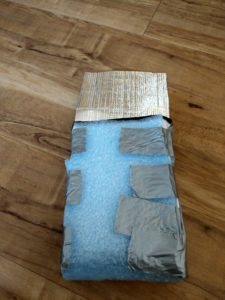
If you want to be really fancy, you can use a short velcro strip to create a way to attach the lid to the pouch, trapping in heat even more effectively.
All in all it took about 15 minutes to make and since we had all the materials lying around the house anyway, all I had to buy was the velcro. So I pretty much made this cozy for free. And I have to say, I’m a bit proud of myself. It might not be the prettiest, but at only 80g it’s lighter than some of the cozies you can buy and it serves its purpose.
With only a little over a week to go until I head towards the PCT I am getting pretty anxious to FINALLY get a move on. All that’s left for me to do is pack up all my things (and try not to forget essentials) and fly a few thousand miles to get to the starting point. At last, my long-distance hike will begin.
Until then…keeping you posted…
This is a great idea! It’s Paul from Snoqualmie, WA… you sat across from my wife Kristi and I on the train to Munich at the end of June. A week after talking to you I picked up a hiking pack in Chamonix, and I’m starting to collect light camping gear for upcoming adventures. I’ll check your site often as a reference! Let us know when you’re thinking about coming out to pick up the PCT again. Happy trails!
Paul that is awesome! I’ve thought of our meeting and the wonderful conversation we had a lot. I’ll definitely let you know when I head in your direction. Possibly next year for some section hiking. Hike on! And if you have any questions, just ask away.